Easy Homemade Cake Pops Recipe: A Simple Guide

Mastering the Perfect Cake Pops Recipe
Direct Answer: A cake pops recipe involves combining crumbled baked cake with frosting to create a malleable dough, shaping it into spheres, chilling them, and dipping them in melted candy wafers. Success relies on balancing the moisture of the cake with just enough binder (frosting) to ensure the pops hold their structure on a stick.
Jump to Recipe 🍳Cake pops are a sophisticated yet accessible dessert that transforms standard cake into a handheld treat. They are ideal for gatherings and offer an excellent way to utilize leftover cake layers. When crafting a reliable cake pops recipe, the primary goal is achieving the correct dough consistency. If the mixture is too dry, it will crumble; if too moist, the pops will slide off the sticks.The Science of Texture and Binding
The secret to a successful result lies in the ratio of cake to frosting. You do not need a full batch of frosting for a standard cake. Instead, add frosting tablespoon by tablespoon until the cake crumbs hold together like soft clay. If you enjoy experimenting with different textures, you might find our The Definitive Moist Carrot Cake Recipe serves as an excellent base for a spiced cake pop variation.| Metric | Standard Cake Pop | Recommendation |
|---|---|---|
| Cake to Frosting Ratio | 4:1 by volume | Adjust by feel |
| Chilling Time | 30-60 minutes | Don’t skip this |
| Melting Point | Low heat | Use double boiler |
📌 Loved this recipe? Save & Follow on Pinterest for daily viral food trends!
Tips for Smooth Coating
When dipping, the temperature of your candy coating is critical. If it is too hot, it may crack as it cools. If it is too cold, it will be thick and uneven. Many bakers use a small amount of vegetable shortening or coconut oil to thin the candy melts to the perfect flowing consistency. For more techniques on working with chocolate and sugar-based coatings, refer to these professional resources at King Arthur Baking, which provides extensive guides on ingredient interactions in baking.Variations and Customization
You are not limited to vanilla or chocolate cake. Lemon cake with cream cheese frosting or red velvet with a light cocoa frosting can provide delightful flavor profiles. Because the center is essentially a pre-baked product, ensure your base cake is fully cooled before you begin. You can also explore homemade chocolate recipes to create a custom ganache if you prefer to avoid store-bought frosting.Homemade Cake Pops
Yield: 18-20 pops | Prep time: 45 mins | Cook time: 0 mins (post-bake)
- Crumble the cooled cake into a large bowl using your hands until no large chunks remain.
- Add the frosting gradually, mixing until the cake holds its shape when squeezed.
- Roll the mixture into uniform balls, about 1.5 inches in diameter. Place on a parchment-lined tray and chill for 30 minutes.
- Melt the candy wafers in a microwave-safe bowl in 30-second intervals, stirring in between. Thin with oil if necessary.
- Dip the tip of a lollipop stick into the melted candy, then insert it halfway into a chilled cake ball.
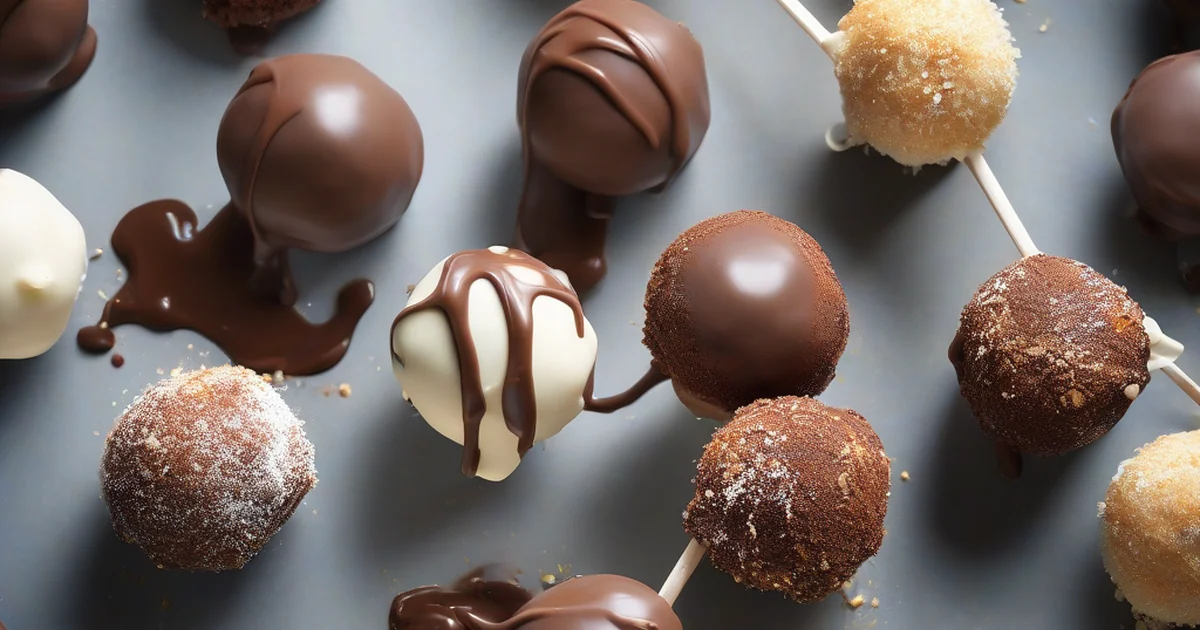
- Dip the entire cake ball into the melted candy, tapping off excess, and set aside to harden.
Storage and Make-Ahead Guidance
Cake pops can be stored in an airtight container at room temperature for up to two days, or in the refrigerator for up to one week. If you need to make them further in advance, you can freeze the undecorated cake balls for up to a month, provided they are wrapped tightly. Avoid freezing fully decorated pops, as the condensation can cause the candy coating to bloom or crack upon thawing.FAQs
Can I use a different type of cake for this recipe?
Yes, almost any dense cake works well. Avoid overly airy or whipped cakes, as they lack the structural integrity required to hold onto the stick once the frosting is added.
Why do my cake pops crack after dipping?
Cracking is usually caused by a temperature difference between the chilled cake ball and the warm coating, or by moving the pops from a refrigerator directly into a hot environment. Let the pops sit at room temperature for a few minutes before dipping.
How do I stop the pops from falling off the sticks?
The “glue” method is essential: dip your stick into the melted chocolate before inserting it into the cake ball. Once the chocolate on the stick hardens, it acts as an anchor for the cake pop.