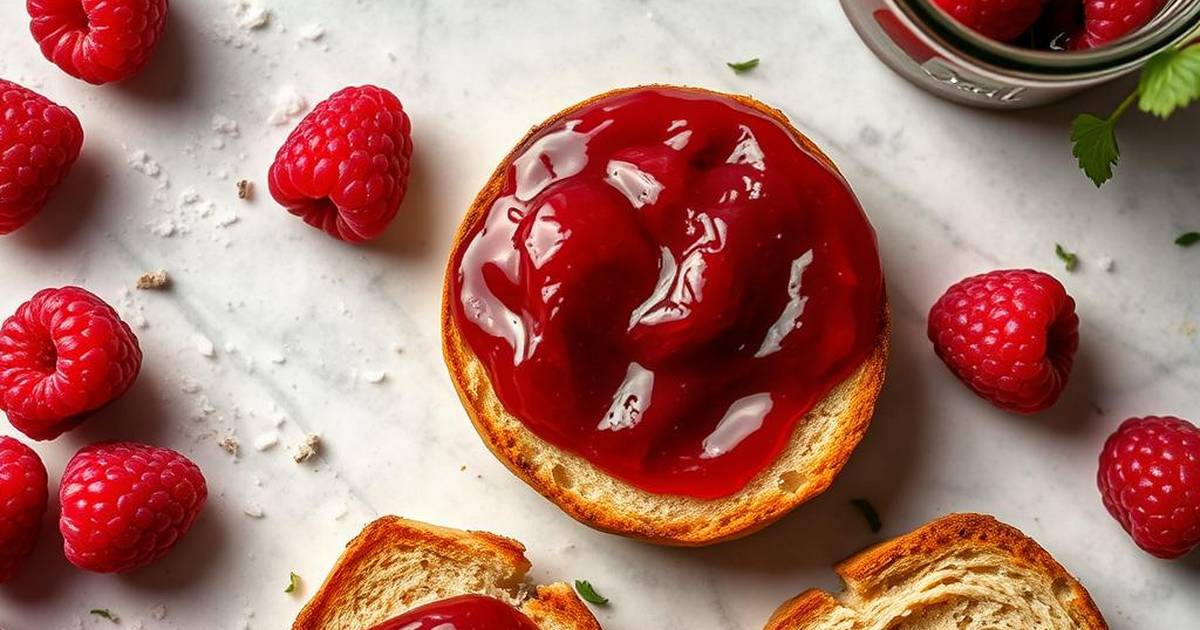
Traditional Homemade Raspberry Jam Recipe

Recipe Snapshot
- Yield: Approximately 3 half-pint jars
- Prep Time: 15 minutes
- Cook Time: 25 minutes
- Total Time: 40 minutes
The Art of the Perfect Fruit Preserve
Creating a balanced raspberry jam recipe requires understanding the relationship between natural fruit acids, sugars, and the thermal process of thickening. Raspberries are naturally high in pectin, which makes them an excellent candidate for preserves, though they benefit from a small amount of added acid to ensure a bright color and proper structure.
When preparing fruit for jams, quality remains the most significant variable. Fresh, slightly under-ripe berries contain higher levels of pectin compared to over-ripe fruit, which can lead to a softer set. If you are interested in exploring other seasonal fruits, you might enjoy comparing this process to a Traditional Homemade Blackberry Jam Recipe to see how berry varieties change the setting dynamics.
Essential Ingredients
- 4 cups fresh raspberries, rinsed and picked over
- 3 cups granulated sugar
- 2 tablespoons fresh lemon juice (acts as a stabilizer and pH balancer)
- 1/2 teaspoon unsalted butter (optional, reduces foaming during cooking)
Step-by-Step Instructions
- Place a small saucer in the freezer; you will use this later to test the consistency of the jam.
- In a large, heavy-bottomed stainless steel pot, combine the raspberries and sugar. Use a potato masher to crush the berries to your desired consistency.
- Bring the mixture to a rolling boil over medium-high heat, stirring constantly to prevent the sugar from burning at the bottom of the pan.
- Add the lemon juice and butter. The butter helps dissipate the foam that gathers at the surface.
- Continue to boil, stirring frequently, until the mixture reaches 220°F (104°C) on a candy thermometer. According to the National Center for Home Food Preservation, this temperature is the industry standard for the gel point of fruit preserves.
- Perform the saucer test: spoon a small amount of jam onto your frozen saucer. If it wrinkles when you push it with your finger, the jam is ready. If it remains runny, continue boiling for another 2-3 minutes.
- Remove from heat and skim any remaining foam from the surface.
- Ladle the hot jam into sterilized jars, leaving 1/4 inch of headspace. Wipe the rims clean and seal according to manufacturer instructions.
Variations and Storage
This raspberry jam recipe serves as a base for many creative culinary explorations. For a more sophisticated flavor profile, consider adding a tablespoon of rose water or a vanilla bean pod during the boiling stage. You can also experiment with citrus zest, such as lime or orange, to brighten the profile of the berries.
Regarding storage, always ensure your jars are properly sterilized. Unopened jars stored in a cool, dark place will maintain quality for up to one year. Once opened, the jam should be refrigerated and consumed within three weeks. If you find yourself with extra berries, you might also consider making homemade chocolate recipes to pair with your finished jam for a decadent dessert tray.
Serving Suggestions
Beyond the classic breakfast toast, raspberry jam is a versatile ingredient in both sweet and savory applications. It provides a sharp, fruity contrast to soft cheeses like brie or goat cheese on a charcuterie board. It is also an essential component in classic thumbprint cookies or as a glaze for roasted meats like duck or pork.
FAQs
Can I reduce the sugar in this raspberry jam recipe?
Sugar is essential for both preservation and the gelling process. While you can slightly reduce it, doing so often requires the use of specialized low-methoxyl pectin to ensure the jam thickens properly without the high sugar concentration.
Why did my jam turn brown?
Overcooking is the primary cause of discoloration. Raspberries are delicate, and extended exposure to high heat can degrade their bright red pigment. Always use a wide, heavy-bottomed pan to maximize surface area and speed up the boiling time.
How can I tell if my jars are properly sealed?
If using standard canning jars, the center of the lid should be slightly indented and should not flex when pressed. If the seal does not pop, the jar should be refrigerated immediately rather than stored in the pantry.
Share Your Creations
We hope this guide helps you preserve the best of the season. Once you have perfected your batch, we would love to hear how you served it. Whether you are gifting jars to friends or pairing them with your favorite morning pastry, a homemade preserve is a timeless kitchen accomplishment.